Installing an AVR (Automatic Voltage Regulator) in your generator can seem like a complex task, but it’s crucial for maintaining power stability. In this step-by-step guide, I will show you how to do it safely and efficiently.
Installing an AVR ensures your generator produces a stable voltage. Follow these simple steps to install it properly, boosting your generator's performance and reliability.
If you've ever experienced voltage fluctuations or unstable power from your generator, installing an AVR could be the solution you need. Let's dive into the details.
Step 1: What is an AVR, and Why Do You Need It?
Before diving into the installation, it's essential to understand what an AVR is and why it's necessary for your generator's performance.
An AVR regulates the voltage output of your generator, preventing damage to your equipment and ensuring smooth power delivery. It's vital for stability.
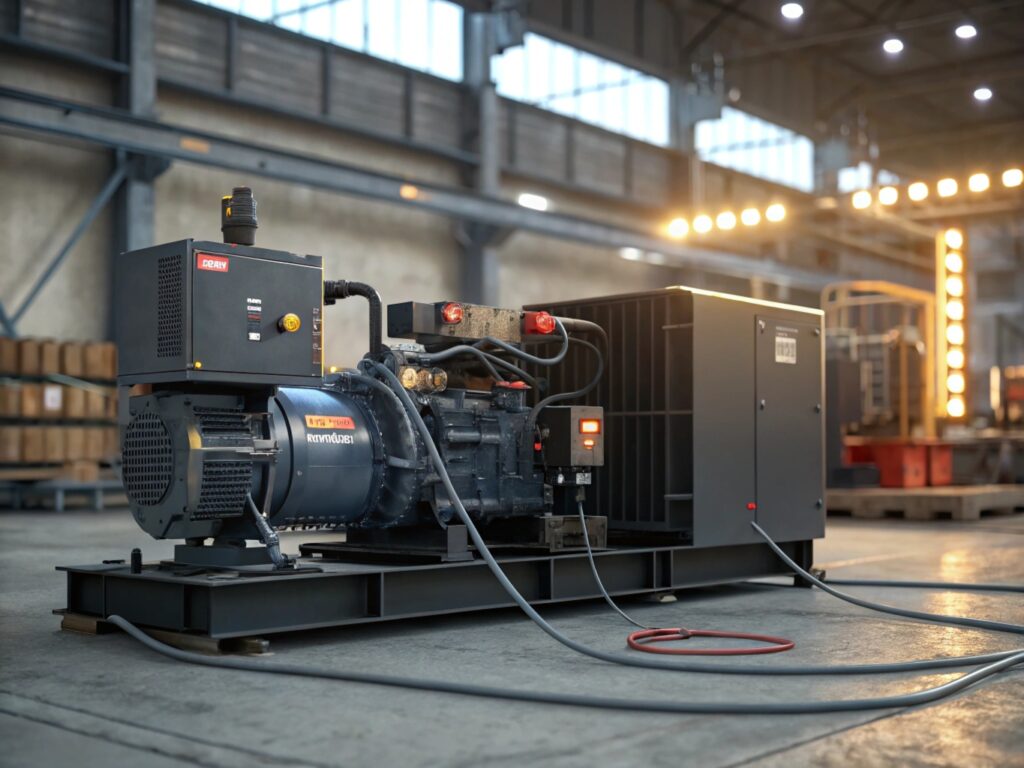
The AVR plays a crucial role in maintaining the voltage within safe limits. Without it, your generator may overproduce or underproduce electricity, leading to power surges or drops. This could damage sensitive electronics or cause inefficient operation. By automatically adjusting the generator's voltage output, the AVR ensures consistent and reliable power.
The installation process can be straightforward, but knowing your equipment and ensuring that you purchase the right type of AVR for your model is essential. AVRs come in different types, from digital to analog, so make sure you choose the right one for your generator type.
Step 2: How Do You Prepare for AVR Installation?
Preparation is key for a successful AVR installation. Let’s look at the necessary tools and steps to get ready.
Before starting, gather tools like screwdrivers, a wrench, and safety gloves. Ensure you have the right replacement AVR for your generator model.
The right preparation ensures the job goes smoothly. Start by unplugging your generator and clearing the workspace to avoid accidents. Read the user manual of your generator and the AVR to understand specific requirements. Having safety gloves and goggles handy is always a good idea, especially when working with electrical components. Taking these precautions helps prevent potential issues, making the installation process safer and more efficient.
Step 3: How to Disconnect the Power Supply Safely?
Disconnecting the power supply is a critical step in the installation process to avoid electrical hazards. Here's how to do it safely.
Always disconnect the power supply before working on any electrical components. This ensures your safety and prevents accidental shocks.**
To disconnect the power supply, ensure that the generator is turned off and remove the power cable from any external connections. Some models may have an on/off switch, while others may require you to remove the battery or unplug the generator. Make sure that no electrical current is flowing into the generator before proceeding. This step cannot be skipped, as it’s essential to prevent accidental electrical shocks and other hazards.
Step 4: How to Remove the Old AVR (if applicable)?
If your generator has an existing AVR, you’ll need to remove it before installing the new one. Here's how to do it properly.
Removing the old AVR requires careful disconnection of wires and screws. Follow the specific instructions for your generator model.
Depending on your generator's make and model, removing the old AVR may involve loosening screws and disconnecting wires. Keep track of how the wires are connected, as this will help you during the installation of the new AVR. Be cautious when handling the old unit, as it may be connected to sensitive electronic components. If you're unsure about any part of the process, refer to the generator's manual or consult a professional.
Step 5: How to Install the New AVR?
Installing the new AVR is the most crucial step. Let’s walk through the proper installation process to ensure everything is in place.
Align the new AVR with the mounting brackets, connect the wires correctly, and secure it using screws. The process is straightforward if you follow the instructions.
Begin by placing the new AVR in the mounting bracket and ensure that it aligns with the corresponding holes. Secure it with screws to keep it in place. Then, connect the wiring as per the manual instructions. Make sure each connection is firm and tight, as loose connections can cause voltage instability or even damage the generator. Once the AVR is securely mounted and wired, double-check everything to ensure accuracy.
Step 6: How to Reconnect the Power Supply and Test the Generator?
After installing the AVR, it's time to reconnect the power supply and test your generator to make sure the AVR is working correctly.
Reconnect the power and turn on the generator. Check the voltage output and ensure that it is stable.
Reconnect the power supply to the generator and turn it on. Use a multimeter to check the voltage output of the generator. A properly functioning AVR will keep the voltage stable within the specified range. If you notice any fluctuations, double-check your wiring and connections. Sometimes, a loose wire or improper connection can cause issues with voltage regulation. If everything is running smoothly, your generator should now be working with stable power output, ready for use.
Troubleshooting Tips for AVR Installation
If you face issues after installation, here are some troubleshooting tips to help you get your generator running smoothly.
If your generator is still having issues after installing the AVR, check the connections, wires, and voltage settings to troubleshoot.
If your generator continues to have problems after installing the AVR, first check all the connections to make sure they are secure. Look for any damaged wires or loose connectors. You should also check the voltage settings on the AVR. If the voltage is too high or low, it could indicate a misconfiguration. Finally, ensure that the AVR model you installed is compatible with your generator type. If the problem persists, consider consulting a technician.
Conclusion
In this guide, we've covered the essential steps to install an AVR in your generator. Follow the steps carefully, and you’ll enjoy more stable and reliable power for your equipment.


